

Stand Ins, or Proxies, are an effective way to populate a render without slowing down the render view or the viewport. You can create a Stand in through a Arnold setting which results in a bounding box that represents the volume of your chosen object. You can then duplicate this box to create multiple versions of the same object.


 |
| Final Render |

This tutorial goes into depth about texturing the skin on a pre-made model and using sub surface scattering to create the right texture to the skin. There are six maps to replicate the layers and surface textures of real skin and create extra detail that isn't there. When bringing in the final Displacement map, in the render view the character will look like a large blob which can be fixed by turning on auto-bumping and reducing the height in the displacement attributes. The final step is to create an ambient occlusion render as well as a beauty render, and edit them together in photoshop.

 |
| Final Render |
During this weeks class we looked at adding in extra poses in the animation to create smoother transitions, as well as the importance of the graph editor. When it comes to using the graph editor to clean up animation, if you use it too mush, the animation no longer has any artistic input. However, if you don't use it at all the animation will inevitably end up looking messy. Essentially in the graph editor the curves need to look smooth and rounded.
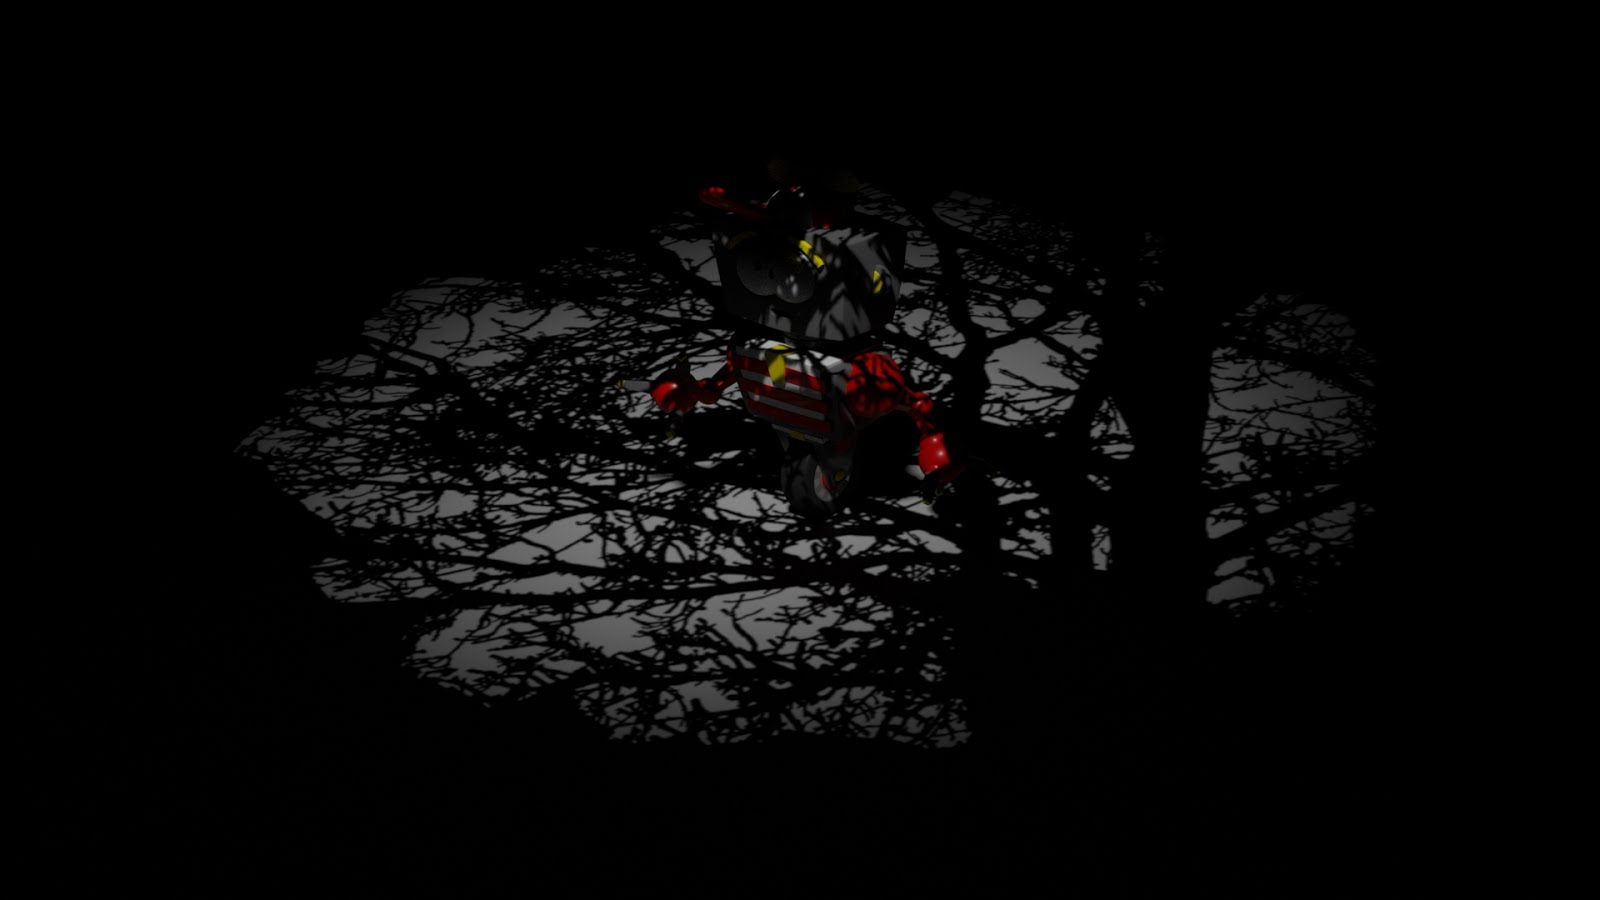
In the Arnold render setting there is an option to create aifog. This creates a fog like texture which can be placed around the scene with settings to create the desired effect as well as changing colour. By adding a temporary background in the render view you can create some interesting effects.


Arnold also offers aiatmosphere volume. This creates a similar fog like effect to make the atmosphere in your scene more of less dense. Like many other lighting or rendering options as soon as you add these to a scene it slows down render times, however it works effectively to create atmosphere in a scene.


 |
| Depth of Field Final Render |
During this tutorial we looked at animating Moom with key poses to resemble a piece of reference footage. Setting the scene correctly is important in this process.
Before posing Moom:
-Changing the Graph Editor from Spline to Stepped.
-Changing the animation Tangents to Flat and Stepped in preferences.
-Setting the timeline to 25fps.
-Making sure the Character Set is uploaded so that everything key frames in one timeline.
I then key framed three main poses and two extra in between. Below are the results so far as this will be continued next week.
Photometric Lights in Maya are an effective way to create realistic lighting in a scene with soft shadows, using an IES files to resemble a real world lighting.

 |
| Final render after added lights. |

 |
| Final Render |
This tutorial elaborated on the Physical Skylight lighting option that gives the impression of a realistic sky in the the render view. This is an arnold light. This light works with/ overrides the skydome light which can be seen in the node editor. This pairing creates a heliodome so that the light source (sun) works in a 360 degrees rotation to simulate the different times of day.
 |
| Example of light working in render view. |
 |
| Example 1- Midday |
 |
| Example 2- Sunset |
 |
| Example 3- Test with different sun/sky tint. |
 |
| Example 4- Test with different sun tint. |
For the first week of Maya tutorials we looked at Moom, a pre rigged character, which we had to place in five different poses based from five images of our choosing. This is a nice way to start as I still have limited experience with Maya and found human rigs difficult to create.
 |
 |
 | ||||||||||||
Gobo 2
|


