Showing posts with label Maya. Show all posts

Monday, 11 April 2022

Major - Sets 02

I have done a few quick tests of the colour layout for the hallway scene. The beams need to have more variation to create the look I am going for. For reference, I am aiming to achieve something psychedelic, somewhat like the scene from 'Coroline' referenced below. There needs to be more of a gradual fade from dark to light and lighting changes will also help with this. From a cinematography point of view I am pleased with how the scene looks structurally. 


Monday, 4 April 2022

Major - Characters Facial Rigging/ Skinning

The rigging and skinning stage has defiantly been difficult for me. This not being a strong suit of mine, I should have anticipated the length of time it would take me to complete. I now only have the facial rigs for my second to characters to complete, which I hope to complete by the end of this week. I will then be able to start animating. I am slightly worried with the deadline being so close and having not yet started the animation process that I will not have a full two minutes of rendered animation by the deadline, however I aim to power through and complete as much as I can to the best of my ability. Looking back it would have been more reasonable to focus on two, if not one characters. For future endeavours I will keep this in mind.  


Thursday, 13 January 2022

Minor - Finalised Characters Models

Below are still renders of my finalised models for my three characters. The hair proved to be a challenging obstacle, in different ways to what I had predicted. The hair designs differ slightly from the orthographic drawings as I made changes during the modelling process. Overall, I am pleased with how the characters look, I feel that again the models took longer than I would have liked which may cause some timing problems later. 


Friday, 10 December 2021

Minor - OGR

 Each character essentially has the same face model with some changes to nose, mouth and eye structure. In the original designs their faces are very similar, the main difference will be their hair and colour. 

Violet Side Profile
Violet Side Profile

Rue Side Profile 

Olive Side Profile 


https://alexomartin.blogspot.com/2021/12/minor-violet-model.html
https://alexomartin.blogspot.com/2021/11/minor-animatic-ogr.html
https://alexomartin.blogspot.com/2021/10/minor-project-development-so-far.html
https://alexomartin.blogspot.com/2021/10/minor-project-project-proposal.html

Tuesday, 7 December 2021

Minor- Violet Model

Violet's model is complete for now. Details like hair, belt, and shoelaces is something I plan to add on once the second two models are completed. The next two models are almost identical apart from the hair designs so I should be able to get those completed within a few days. Over the next few weeks I plan to complete the rigging and skinning as well as some basic set modelling (the sets are pretty simplistic so wont take up to much time).  


Monday, 18 October 2021

Classwork - Lighting

The last two Maya sessions have focused on effectively lighting scenes and recapping some lighting and rendering techniques from toolkit 2.  The first three renders are basic lighting set ups for different times of day. 


 The next few renders look at atmospheric lighting, using spotlights and various plugins to create texture and substance within the space. 


 Specifically for my project there is at least one scene when I will consider using heavy atmospheric lighting. The majority of my scenes will need fairly basic lighting, which also will save me time when I get to the rendering stage of my animation. 

Thursday, 3 June 2021

Jet Pack Jones - Part 4/14 Head and 1/6 Body

During this Jet Pack Jones project I have struggled with time keeping somewhat. I underestimated how long it would take me to model the head, and I realised a bit to late that I was being too picky on my modelling. Unfortunately, to save time I have not modelled the skull cap, and moved onto the body modelling so I had most of the character completed. Over the summer I plan to complete the pipeline process for Jet Pack Jones as my premise project contains two characters. 


Thursday, 18 March 2021

Substance Painter - Dumpster

 During this weeks substance painter class we looked at texturing a dumpster similar to last weeks process. The only difference is a set texture called metal edge wears which adds a worn look to the edges of the surface. I have been unable to get this to work after attempting a few times so I have left this step out. We also learned how to stamp and layers images onto a surface using set paint brushes in projection mode, which was used to achieve the graffiti textures. A plastic texture was applied to the lid, and a rubber texture to the wheels and then everything is exported out and plugged into the corresponding channels in maya. The look achieved is effective and substance painter continues to be a user friendly programme.  


Wednesday, 10 March 2021

Substance Painter - Oil Can

 This week we looked at substance painter and texturing an oil can model. The process started by baking the maps and adding fill layers with a red colour. There were three of these layers with various grunge/ scratch maps added to generators, which can simulate depth. Rust maps are the last thing to be added, as well as another grunge map to lower the harshness of the texture. The process is relatively the similar to the book texturing however, when plugging the maps back into Maya, the process is a lot quicker. So far using substance painter the outcomes are of a high quality and the software is easy to us. 


Wednesday, 3 March 2021

Substance Painter - Book

This week we looked into substance painter and the pros to texturing in this software. Substance painter is completely new to me, however, I found this instantly more user friendly compared to the photoshop process. Being able to see each texture build up in both 2D and 3D format simplified the process from me. You start by exporting the existing objects into substance painter, there are lots of materials already provided to texture objects like the one used below. From there settings can be changed to effect the size and scale of the texture, these textures when baked also provide normal maps e.t.c. The gold pattern is added by using a copper like texture and another fill layer textured with the actual design, which is then inverted. This designs height can also be altered to simulate the idea of depth and difference in material. Once all of this is completed it can be exported back into maya, by placing each texture map into the correct inputs. I feel that this process is easier in terms of visualisation and for me personally time saving compared to the alternative methods. The outcome is also of a high quality.   


Tuesday, 23 February 2021

Kitbash

Today we took part in a kitbash, the task was to create a robot character out of already given parts in Maya. This was a good way to get thinking about design in a fast pace manor, creating a character in a short amount of time is important as most of the projects we have had so far account a large amount of time for design. This is a much longer period than industry standard so it was interesting to see what could be created out of spare parts in a few hours. 

Final Render
Non- Colour Render 

Friday, 12 February 2021

Jet Pack Jones - Part 3/4

I have developed the model further, including finished rough modelling of the of the overall head structure and shaping round the eye. I have also modelled the mouth the a good point. The actual process of modelling is taking me longer than I anticipated. I want to make sure that I properly intake all the information so I benefit from this process as much as possible, which will help me significantly throughout the next projects.


Mouth Modelled 


Tuesday, 2 February 2021

Maya Tutorial - Book (Texturing)

 In this class we started preparation for texturing the model below. The image below has been lit with three light attached to a constraint aims. The scene was then rendered out and save as a .exr file. 


Monday, 1 February 2021

Jet Pack Jones - Part 1/2

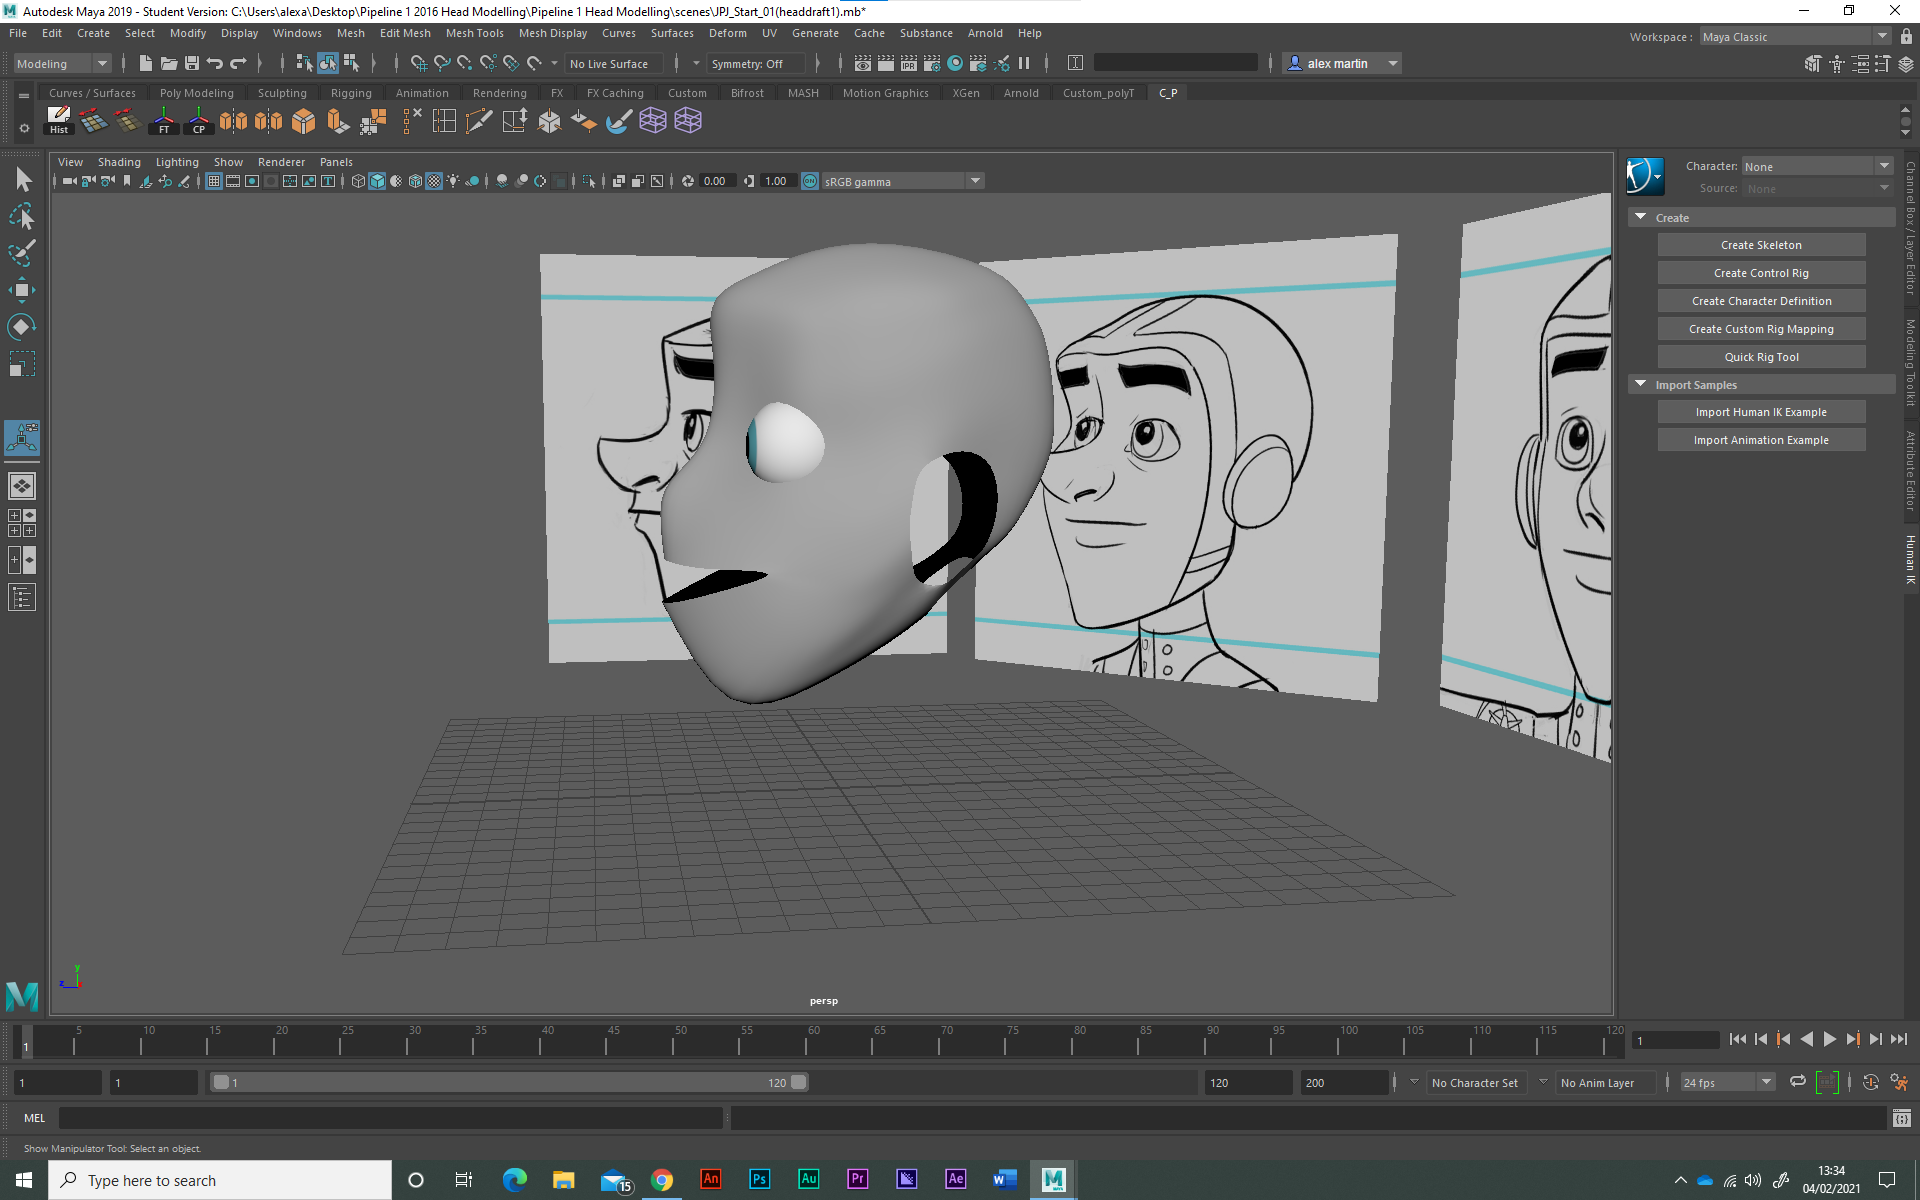
 Starting off Jet Pack Jones, I added all of the orthographic images into maya, as well as creating a temporary left eye and a rough outline of half of the face. 


Sunday, 10 January 2021

Collaboration - Animating

 For the scene set outside the Mayan temple there are too many Moom's to animate at once. As a solution I have decided to animate the Historian and the museum frame separately to the scene behind him. Below is a playblast check of one of the first sequences. Moom is currently moving to fast so when animating I need to make sure I time and pace his movements better. 


Scene modelled by Torran.
Here is the basic set up of the scene. Anything behind the museum wall will be edited in afterwards, this includes the exhibit and the Mayan people.